
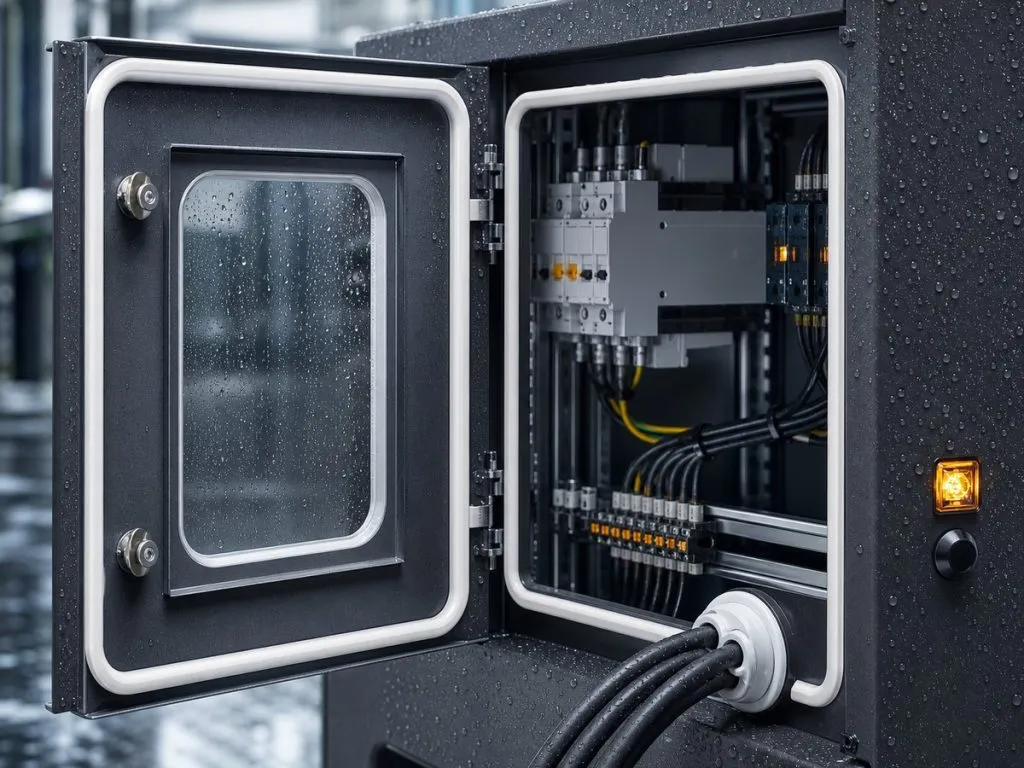
Waterproofing an industrial control enclosure relies on more than just the door gasket. The viewing window, screws, cable entry points, and the flatness of the enclosure must all form a continuous protective path.
1. Identify the leak path
First, break down the structure based on the entry paths of rainwater, condensation, and dust.
- Continuous circumferential seal around the door frame
- The window features a separate clamping edge
- Install secondary protection at the cable outlet
2. Cross-Sections and Grooves
The height of the weatherstrip must be adjusted to account for door panel warping and the latch force.
- Control the Amount of Compression
- Use a curved transition at the corners
- Avoid Local Undervoltage on the Hinge Side
3. Assembly Control
The position of the latch determines the uniformity of force distribution across the sealing surface.
- Check the flatness of the door panel
- Closing Force Test
- Check the continuity of the compression marks
4. Verification Methods
Testing entire boxes is more effective than testing individual strips.
- Spray Test
- Retest After Exposure to Warm, Humid Heat
- Check for water seepage at the cable outlet
FAQ
1. Why is water leaking from the control box at the corner?
Insufficient compression at corners or discontinuities in the seams are common causes; you should first check the seal strip path and the force applied to the locking mechanism.
2. Can this be solved simply by making the seal thicker?
No. Excessive thickness increases the closing force and accelerates deformation; both the groove and the compression ratio need to be optimized simultaneously.